Cannabis Growth Stages: From Seed to Harvest
A detailed walkthrough of every cannabis growth stage including germination, seedling, vegetative, flowering, and harvest with timing and care tips for each phase.
Understanding the cannabis growth stages is fundamental to becoming a successful grower. Each phase of the plant's life cycle has distinct requirements for light, nutrients, water, and environmental conditions. Knowing what to expect at each stage helps you provide the right care at the right time.
This guide covers every stage from the moment you plant your seed to the day you harvest your buds. Whether you are growing autoflower seeds or feminized photoperiod seeds, the basic stages remain the same, though the timing varies.
For a detailed look at the very first step, see our guide on how to germinate cannabis seeds.

Stage 1: Germination (1-7 Days)
Germination is the process by which a dormant seed springs to life. When exposed to moisture and warmth, the seed's outer shell softens and cracks open, allowing a small white root called the taproot to emerge.
What Happens During Germination
Inside every viable cannabis seed is an embryonic plant waiting for the right conditions to grow. The seed absorbs water through its shell in a process called imbibition. This activates enzymes that break down stored nutrients, providing energy for the emerging root and shoot.
The taproot grows downward, anchoring the seedling and beginning to absorb water and nutrients from its surroundings. Meanwhile, the seed pushes upward through the growing medium, eventually breaking the surface as a seedling.
Germination Care Tips
- Temperature: Maintain 72-78°F (22-26°C) for optimal germination rates
- Moisture: Keep the environment consistently moist but not waterlogged. The paper towel method, direct soil planting, and water soaking are all effective techniques
- Darkness: Seeds germinate best in darkness. Do not expose them to light until the seedling emerges from the soil
- Patience: Most seeds germinate within 24-72 hours, but some can take up to 7 days. Do not give up too early
- Handling: Always handle seeds and taproots with clean hands or tweezers. The taproot is extremely fragile
Stage 2: Seedling Stage (1-3 Weeks)
Once the seed breaks the soil surface, you will see a tiny stem topped by two round leaves called cotyledons. These are not true leaves but rather embryonic leaves that stored nutrients within the seed. The seedling stage begins now and lasts until the plant develops 3-4 sets of true leaves with the characteristic serrated edges.
What Happens During the Seedling Stage
The cotyledons provide initial energy through photosynthesis while the first true leaves develop. Each set of true leaves appears with an increasing number of leaf fingers, starting with one and eventually reaching the classic 5-7 fingered fan leaves.
During this stage, the root system is small and developing. The seedling is fragile and highly sensitive to environmental conditions. This is the stage where many new growers encounter problems through overwatering, overfeeding, or excessive light intensity.
Seedling Care Tips
- Light: Provide 18-24 hours of gentle light. Keep LEDs at a greater distance than during veg to avoid light stress. 200-400 PPFD is sufficient
- Water: Water sparingly. The root system is tiny and cannot absorb much. Use a spray bottle to moisten the area around the seedling rather than drenching the entire pot
- Nutrients: Do not feed nutrients during the first week or two. Quality potting soil contains enough nutrition for seedlings. If using inert media, start with quarter-strength nutrients
- Humidity: Keep humidity high at 65-70% using a dome or humidifier. Seedlings absorb moisture through their leaves since their root system is underdeveloped
- Temperature: Maintain 72-80°F (22-27°C) consistently
Stage 3: Vegetative Stage (3-16 Weeks)
The vegetative stage is the main growth phase where your cannabis plant builds the structure it needs to support heavy flowers. This is when plants grow most rapidly, developing stems, branches, and fan leaves.
What Happens During Vegetative Growth
During veg, cannabis plants focus all their energy on vertical and lateral growth. Under an 18/6 light schedule, photoperiod plants will continue vegetating indefinitely until the light cycle is changed to 12/12. Autoflowers will typically veg for 3-5 weeks before automatically transitioning to flower.
Plants develop a robust root system during veg, which is critical for nutrient and water uptake during the demanding flowering stage. The branching pattern established during veg determines how many bud sites the plant will ultimately produce.
Vegetative Care Tips
- Light: 18 hours on, 6 hours off for photoperiod strains. Increase light intensity gradually as plants mature. Target 400-600 PPFD during mid to late veg
- Nutrients: Nitrogen is the primary nutrient during veg. Use a grow formula with higher nitrogen ratios. Increase feeding strength gradually, watching for signs of excess or deficiency
- Water: Water when the top 1-2 inches of soil feel dry. Plants drink more as they grow larger. Watering frequency increases from every 3-4 days to potentially daily by late veg
- Training: The vegetative stage is the ideal time for training techniques such as topping, LST, super cropping, and defoliation. Training during veg shapes the plant for maximum flower production
- Temperature: 70-85°F (21-29°C) daytime. Higher temperatures are acceptable during veg compared to flowering
- Humidity: 50-70% RH. Gradually reduce humidity as plants grow larger to prepare for flowering conditions
How Long to Vegetate
For photoperiod plants, the length of the vegetative stage is your choice. Indoor growers typically veg for 4-8 weeks. Longer veg periods produce larger plants with more yield potential but require more space and time. Short veg periods of 2-3 weeks suit sea of green (SOG) setups with many small plants.
Autoflowers handle this decision for you. They transition to flowering automatically, usually around weeks 3-5 from germination.
Stage 4: Flowering Stage (7-12 Weeks)
The flowering stage is what every grower anticipates. This is when your plants produce the buds that make all the effort worthwhile. For photoperiod strains, flowering begins when the light cycle changes to 12/12. For autoflower seeds, it starts automatically.
Early Flowering (Weeks 1-3)
The first few weeks of flowering are marked by a significant growth spurt called the flowering stretch. Plants can double or even triple in height during this period. Pre-flowers appear at the nodes, with female plants showing white pistils and male plants producing pollen sacs.
If you are growing regular (non-feminized) seeds, this is when you identify and remove male plants to prevent pollination.
Mid Flowering (Weeks 4-6)
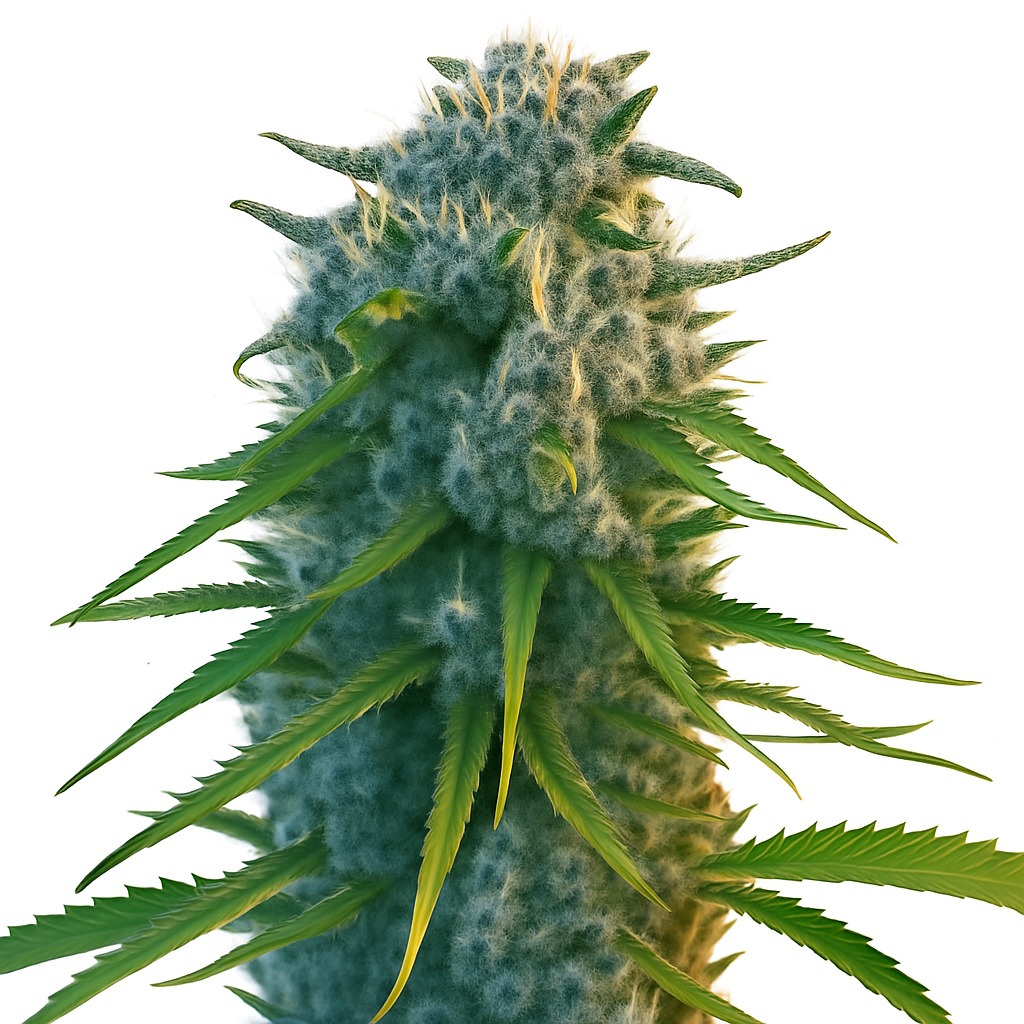
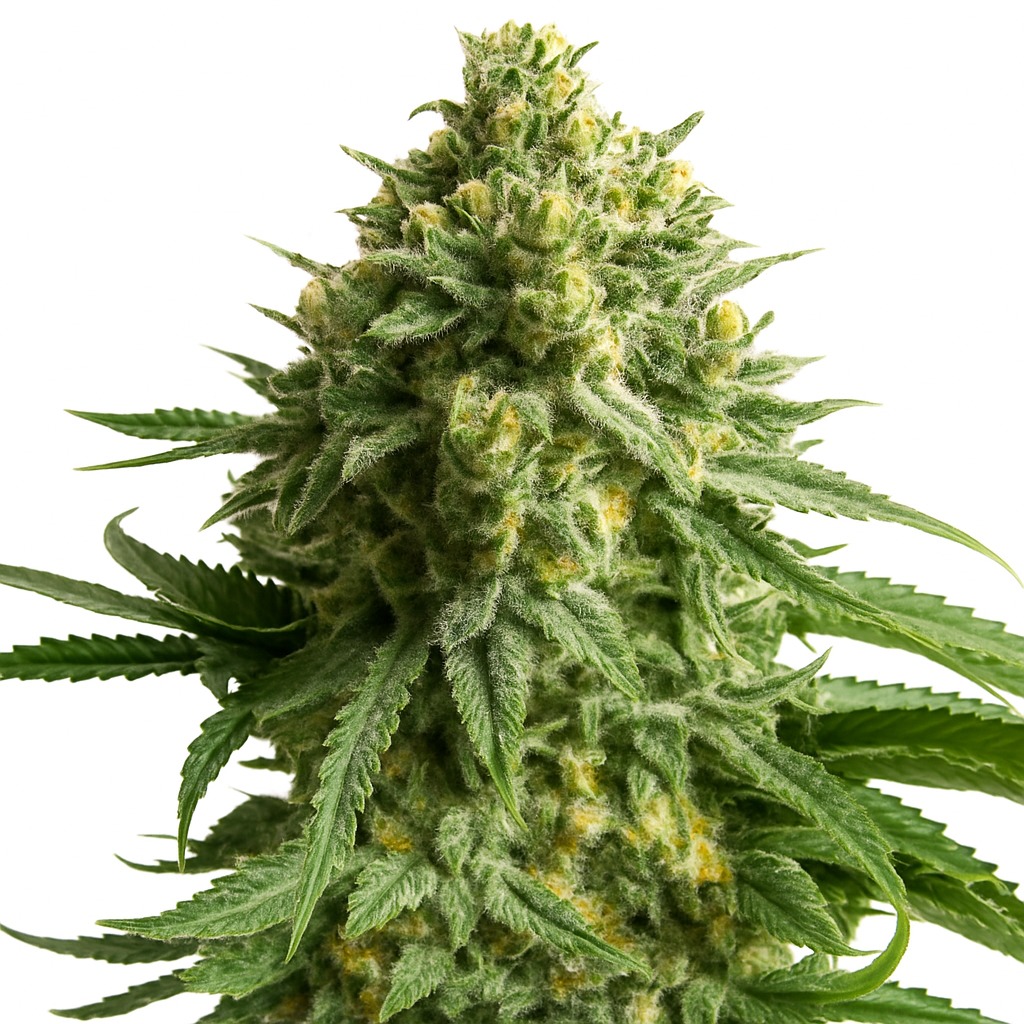
Bud sites develop rapidly during mid-flowering. The white pistils lengthen and the calyxes begin to swell. Trichome production becomes visible as a frosty coating on buds and surrounding leaves. This is when the plant's nutrient demand is highest, particularly for phosphorus and potassium.
Aromas begin to intensify during this phase. Ensure your carbon filter is working properly if odor control is a concern.
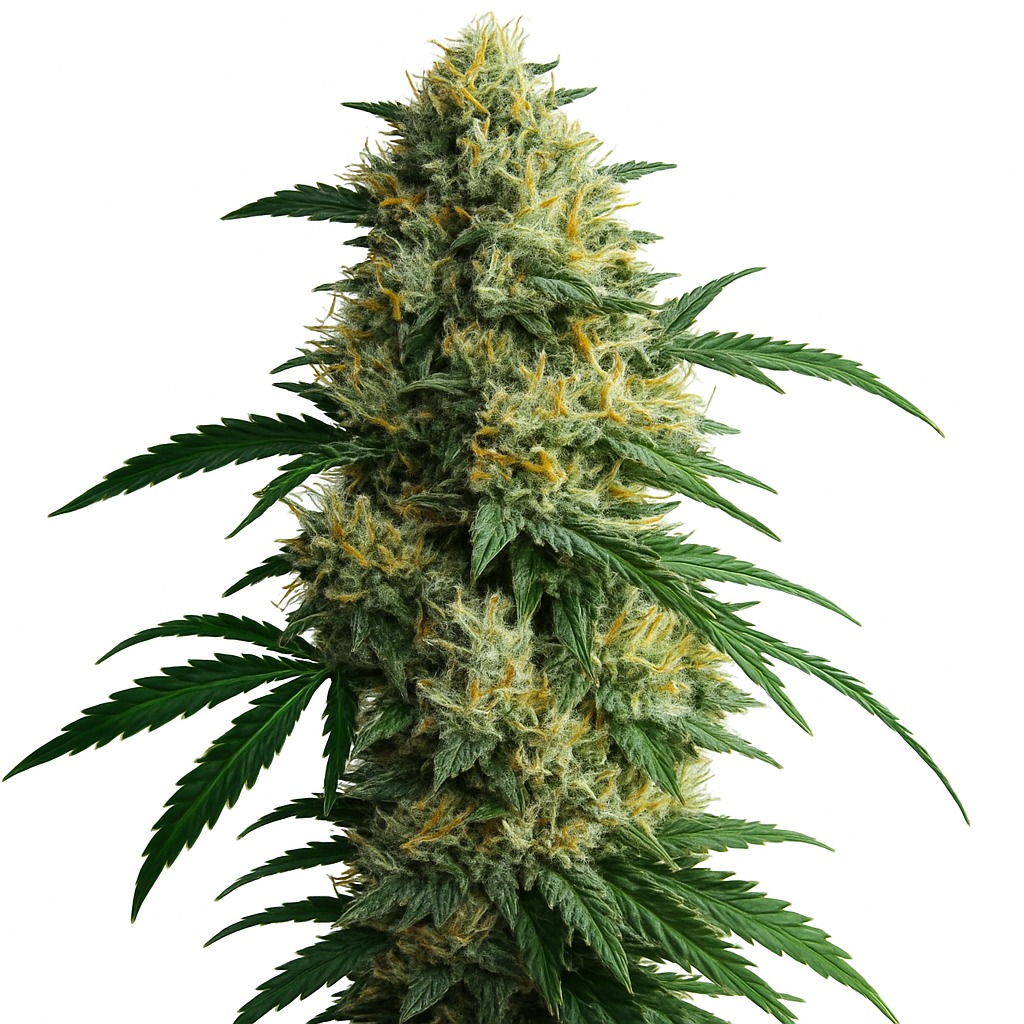
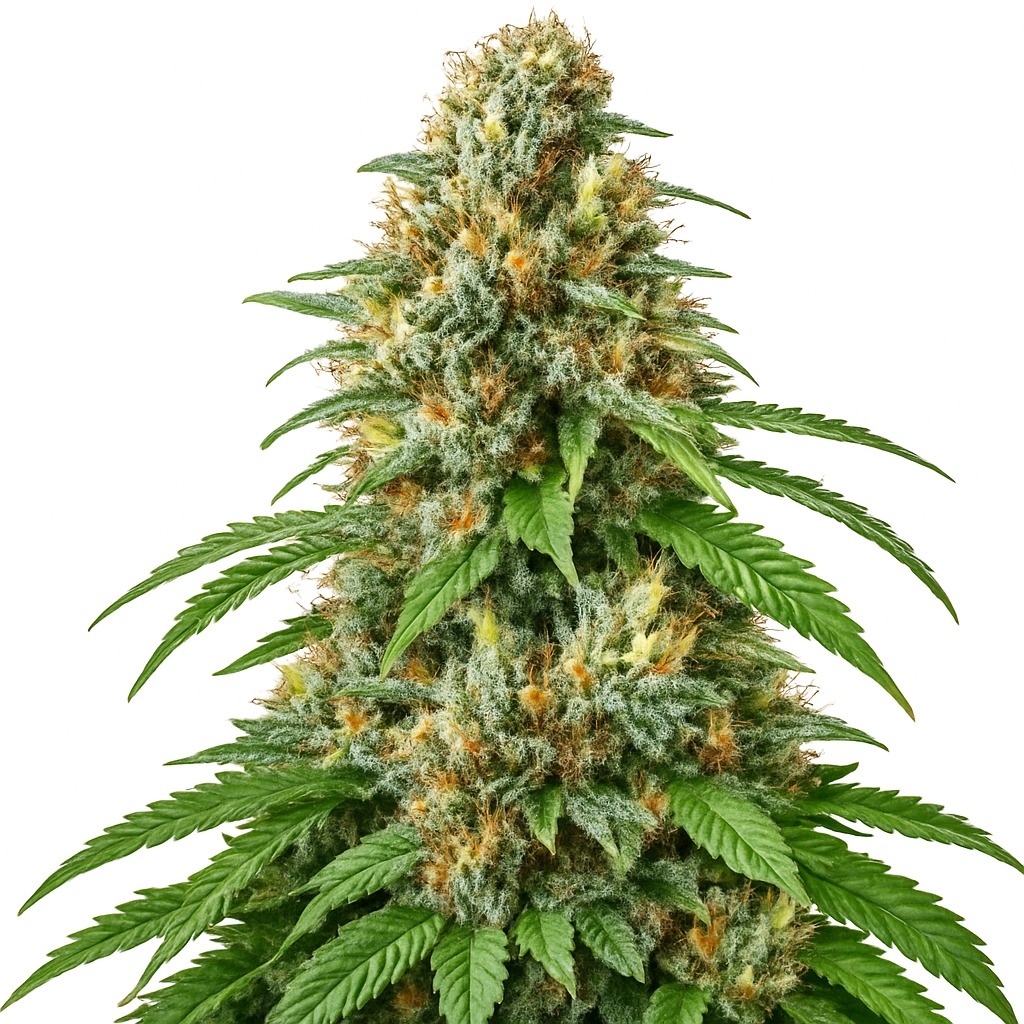
Late Flowering (Weeks 7-10+)
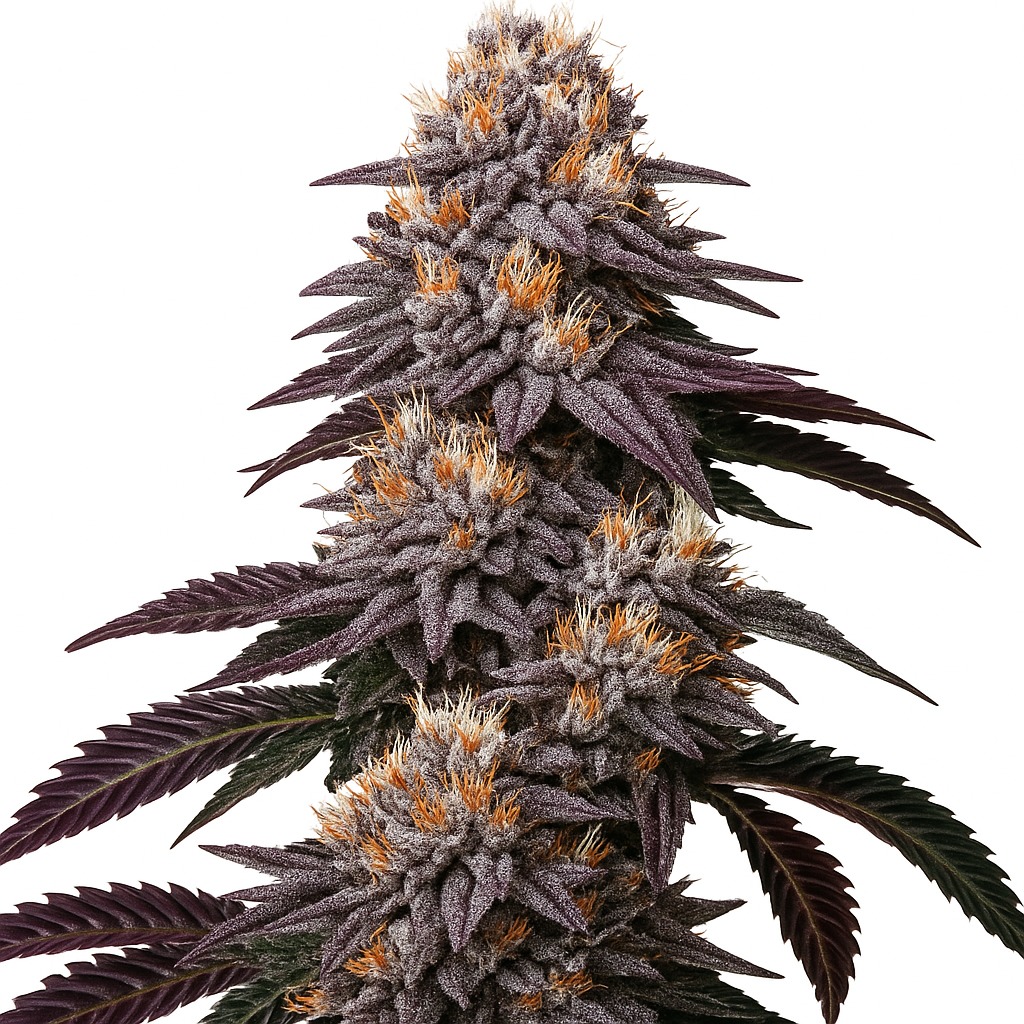
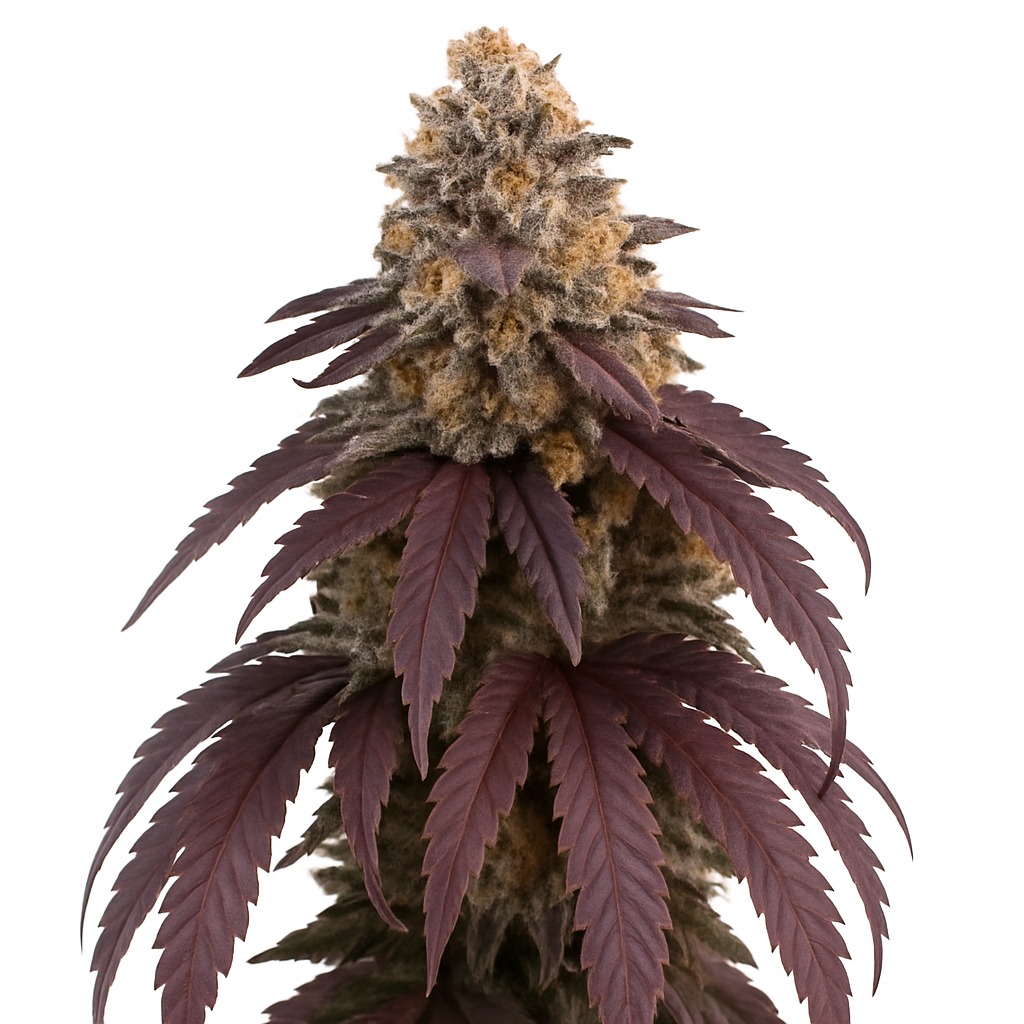
During late flowering, buds continue to swell and densify. The pistils begin to darken from white to orange or brown, and trichomes transition from clear to milky to amber. This is the final push before harvest.
Reduce humidity to 35-45% to prevent mold in the dense bud structure. Some growers lower nighttime temperatures to 60-65°F to stimulate anthocyanin production, which can bring out purple and blue hues in susceptible strains.
Flowering Care Tips
- Light: Strict 12/12 for photoperiod strains. Zero light leaks during the dark period. 18-20 hours for autoflowers
- Nutrients: Switch to bloom nutrients high in phosphorus and potassium. Reduce nitrogen. Begin flushing with plain water 1-2 weeks before harvest
- Water: Consistent watering is important. Do not let plants dry out excessively during flowering
- Humidity: Keep below 50% and ideally 35-45% during late flowering
- Temperature: 68-78°F (20-26°C) daytime. Slight nighttime drop is beneficial
- Support: Stake or trellis plants to support heavy bud weight
Stage 5: Harvest
Harvesting at the right time is crucial for achieving the potency, flavor, and effects you want. Harvesting too early leaves significant potency and yield on the table. Harvesting too late results in degraded THC and an overly sedating effect.
When to Harvest
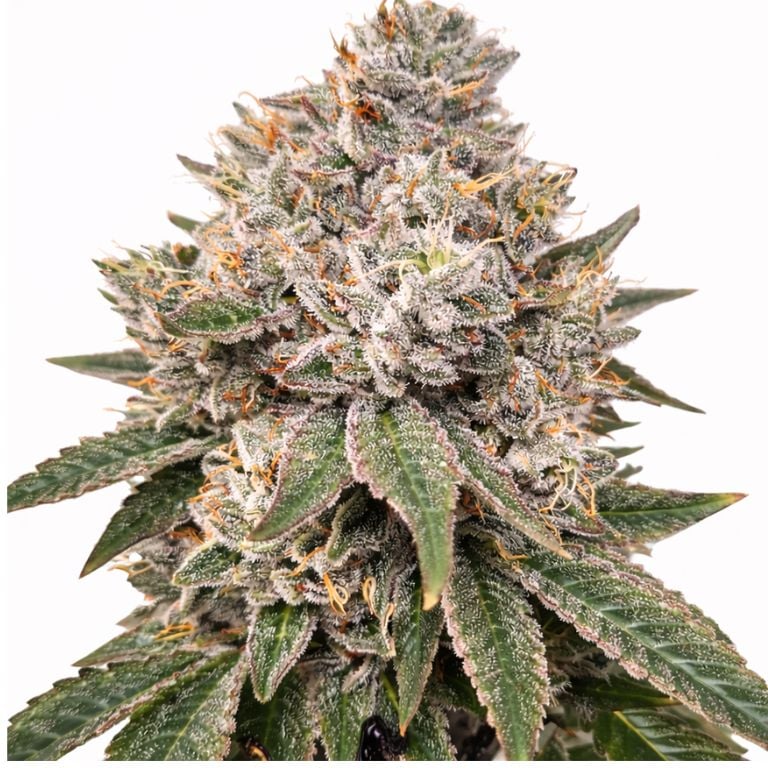
The most reliable method is examining trichomes under magnification. Use a 60x jeweler's loupe or digital microscope and focus on the trichomes on the buds rather than on sugar leaves.
- Clear trichomes: The plant is not yet mature. Wait longer.
- Mostly milky/cloudy trichomes: Peak THC content. Harvest now for maximum potency and a more uplifting effect.
- Mixed milky and amber trichomes: A balanced effect. Most growers prefer 70-80% milky with 10-20% amber.
- Mostly amber trichomes: THC has degraded significantly into CBN. Effects will be heavily sedating.
Harvest Process
Cut branches individually or harvest the entire plant at once. Remove large fan leaves and hang branches upside down to dry in a dark room at 60-65°F with 55-65% humidity. Drying takes 7-14 days. After drying, trim buds and place them in glass jars for curing, opening jars daily for the first week to release moisture.
Understanding the Full Cycle
From germination to harvest, a typical indoor cannabis grow takes 3-5 months depending on the strain and growing style. Autoflowers complete the cycle faster at 8-12 weeks total. Photoperiod strains allow more control over timing but require longer overall.
Every stage builds on the previous one. A strong seedling becomes a vigorous vegetative plant, which in turn produces abundant flowers. Understanding these stages helps you anticipate your plants' needs and catch problems before they escalate.
Browse our autoflower seeds for the fastest seed-to-harvest timeline, or explore feminized seeds for maximum control over your grow cycle.
Marcus Chen
Genetics & Breeding Specialist
My Expertise
Marcus has spent over a decade working with cannabis genetics, from landrace preservation to modern hybrid development. His deep understanding of terpene profiles, cannabinoid expression, and phenotype selection informs every strain guide and product review on BudLabz.
I specialize in 3 areas...
Share this post