How to Grow Cannabis Indoors: Complete Indoor Growing Guide
A comprehensive guide to indoor cannabis cultivation covering grow space setup, LED lighting, climate control, nutrients, and stage-by-stage growing instructions.
Growing cannabis indoors gives you complete control over every environmental variable that affects plant health and yield. Whether you are working with a dedicated grow room or a small tent in a closet, indoor cultivation allows you to produce high-quality cannabis year-round regardless of your climate.
This guide walks you through every stage of indoor growing, from setting up your space to harvesting your buds. We will cover equipment selection, environmental management, nutrition, and the specific care requirements for each growth stage.
For genetics optimized for indoor growing, explore our indoor seed collection and feminized seeds.
Setting Up Your Indoor Grow Space
The foundation of a successful indoor grow starts with your environment. You do not need a huge budget or a dedicated room. Many growers produce excellent results in a 2x4 or 4x4 grow tent.
Choosing a Grow Tent or Room
Grow tents are the most popular option for home growers because they are affordable, reflective on the inside, and easy to set up. A 4x4 foot tent can comfortably hold 4-6 plants and fits in most closets or spare rooms. For a single plant, even a 2x2 tent works well.
Key features to look for in a grow tent include sturdy frame construction (usually steel poles), thick reflective mylar interior, multiple ventilation ports, and waterproof floor trays. Brands vary in quality, so read reviews before purchasing.
If you are converting a room or closet, line the walls with flat white paint or reflective mylar sheets. White paint actually reflects light very efficiently and is cheaper than specialized materials.
Ventilation and Air Circulation
Proper airflow is essential for healthy cannabis plants. You need two systems: air exchange and air circulation.
An inline exhaust fan with a carbon filter handles air exchange, pulling stale air out of the grow space and removing odors. Size your fan to exchange the total air volume of your tent every 1-3 minutes. A 4-inch fan is sufficient for a 2x4 tent, while a 6-inch fan suits a 4x4 tent.
Oscillating fans inside the tent provide air circulation, strengthening stems and preventing hot spots and moisture pockets. Position fans so that all plants receive gentle airflow without being blasted directly.
Lighting: The Most Important Factor
Light is the engine that drives cannabis growth. Your choice of lighting has the single biggest impact on yield and bud quality.
LED Lighting for Cannabis
LED grow lights have become the gold standard for indoor cannabis cultivation. Modern full-spectrum LEDs produce excellent results while consuming significantly less electricity than older HPS or MH systems. They also generate less heat, which simplifies temperature management.
For a 4x4 tent, aim for an LED light that draws 400-600 watts from the wall. Look for lights with a full spectrum that includes both blue and red wavelengths. Samsung LM301 diodes are considered among the best available and appear in many top-rated fixtures.
Hang your light at the manufacturer's recommended height, typically 18-24 inches above the canopy during vegetative growth and 12-18 inches during flowering. Use a lux meter or PAR meter to verify light intensity at the canopy level.
Light Schedules
For photoperiod strains, use an 18/6 schedule (18 hours on, 6 hours off) during vegetative growth. When you are ready to trigger flowering, switch to 12/12. Autoflowering strains can run on 18/6 or 20/4 throughout their entire life cycle.
Consistency is critical. Use a reliable timer and avoid light leaks during the dark period, especially with photoperiod strains. Even small light interruptions during the 12-hour dark phase can stress plants and cause hermaphroditism.
Temperature and Humidity Management
Cannabis thrives within specific temperature and humidity ranges that shift as the plant matures.
Ideal Temperature Ranges
- Seedling stage: 72-80°F (22-27°C)
- Vegetative stage: 70-85°F (21-29°C)
- Flowering stage: 68-78°F (20-26°C)
- Late flowering: 65-75°F (18-24°C)
Maintain a 5-10°F drop between daytime and nighttime temperatures. This mimics natural conditions and can enhance terpene development during late flowering.
Ideal Humidity Ranges
- Seedling stage: 65-70% RH
- Vegetative stage: 50-70% RH
- Early flowering: 45-55% RH
- Late flowering: 35-45% RH
High humidity during flowering increases the risk of bud rot and powdery mildew. A dehumidifier is a worthwhile investment, especially in humid climates. Monitor conditions with a digital hygrometer placed at canopy level.
Cannabis Nutrients: Feeding Your Plants
Cannabis plants require three primary macronutrients: nitrogen (N), phosphorus (P), and potassium (K). The ratio of these nutrients shifts as the plant moves through its growth stages.
Vegetative Nutrient Needs
During vegetative growth, cannabis demands higher levels of nitrogen to fuel leaf and stem development. A nutrient ratio emphasizing nitrogen, such as 3-1-2 (N-P-K), works well during this stage. Start at quarter strength for seedlings and gradually increase to full strength as plants mature.
Calcium and magnesium are important secondary nutrients. Many growers supplement with a cal-mag product, especially when growing in coco coir or using filtered water.
Flowering Nutrient Needs
Once flowering begins, reduce nitrogen and increase phosphorus and potassium. A ratio like 1-3-2 supports bud development, trichome production, and overall flower quality. Many nutrient lines offer specific bloom formulations designed for this stage.
During the final 1-2 weeks before harvest, many growers flush their plants with plain pH-balanced water. This practice aims to remove excess nutrient salts from the growing medium and may improve the smoothness of the final product.
pH Management
PH is arguably more important than the nutrients themselves. If your pH is out of range, plants cannot absorb nutrients regardless of how much you feed them.
- Soil: Maintain pH between 6.0-6.5
- Coco coir/hydro: Maintain pH between 5.5-6.0
Always pH your water and nutrient solution before feeding. Invest in a quality digital pH meter and calibrate it regularly.
The Vegetative Stage
The vegetative stage begins once your seedling has developed its first set of true leaves and continues until you trigger flowering. This phase is all about building a strong, healthy plant structure that can support heavy buds.
Training Techniques
Training your plants during veg improves light distribution and can significantly increase yields. Low-stress training (LST) involves gently bending branches and tying them down to create a flat, even canopy. This exposes more bud sites to direct light.
Topping involves cutting the main growing tip to create two main branches instead of one. This creates a bushier plant with multiple colas rather than a single dominant one. Top plants once they have 4-6 nodes and allow a week of recovery before additional training.
Vegetative Stage Duration
For photoperiod strains, the vegetative stage lasts as long as you want. Most indoor growers veg for 4-8 weeks, depending on desired plant size. Larger plants yield more but require more space and longer total grow times. Our feminized seeds give you full control over vegetative timing.
The Flowering Stage
Flowering is when your plants produce the buds you have been waiting for. For photoperiod strains, switch your light schedule to 12/12 to initiate flowering.
Week-by-Week Flowering Overview
- Weeks 1-2: Flowering stretch. Plants may double in height. Continue light feeding with transition nutrients.
- Weeks 3-4: Bud sites form and begin to develop. Switch to full bloom nutrients. Pistils appear white and wispy.
- Weeks 5-6: Buds fatten rapidly. Trichomes become visible. Maintain low humidity and good airflow.
- Weeks 7-8: Buds continue to swell and densify. Aromas intensify as terpene production peaks.
- Weeks 8-10: Final ripening. Begin flushing if desired. Monitor trichomes for harvest readiness.
Supporting Heavy Buds
As buds develop, branches may need physical support. Bamboo stakes, plant yo-yos, or trellis netting prevent branches from snapping under the weight of dense flowers.
Harvest Timing
Harvesting at the right time is critical for potency and effect. Too early and you lose potency and yield. Too late and THC degrades into CBN, producing a more sedative effect.
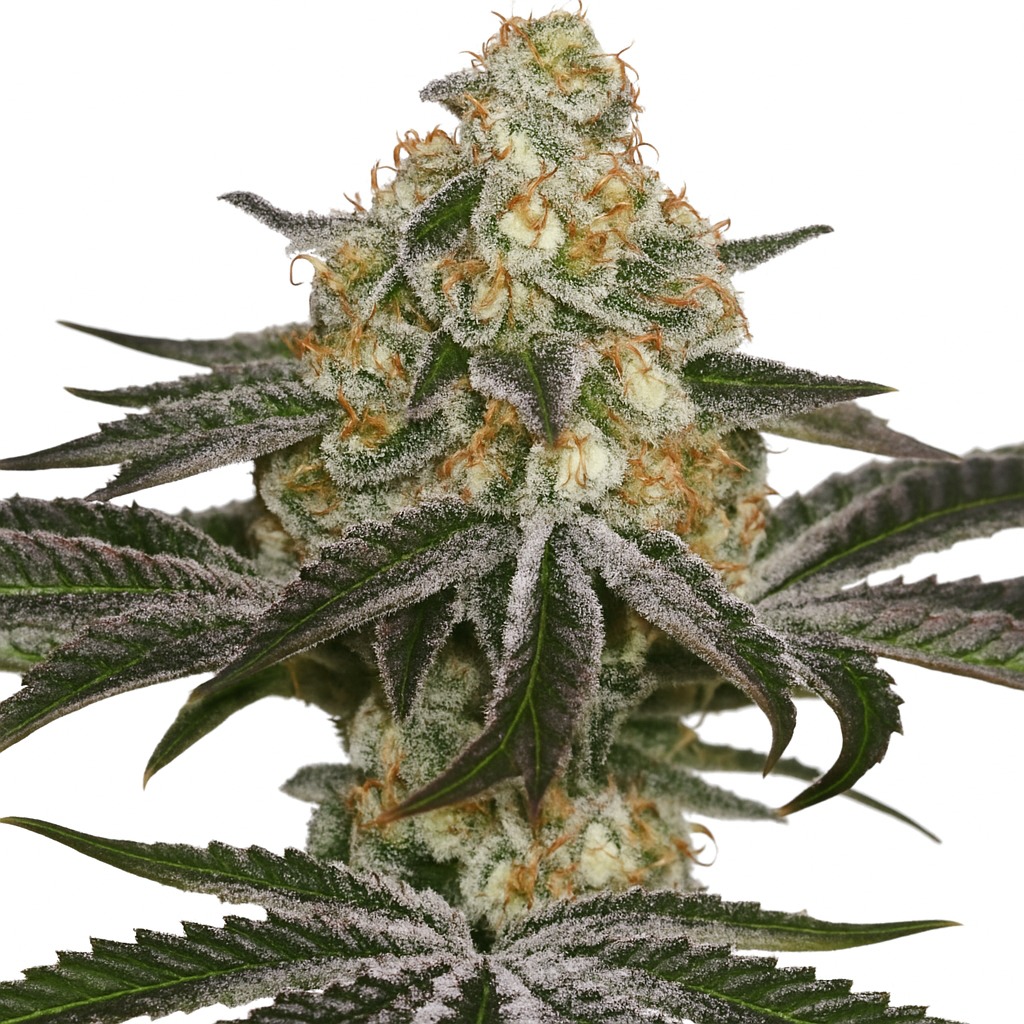
Reading Trichomes
Use a jeweler's loupe (60x magnification) or a digital microscope to examine trichomes on the buds, not the sugar leaves.
- Clear trichomes: Not ready. Buds are still developing.
- Milky/cloudy trichomes: Peak THC. Harvest now for maximum potency and a more cerebral effect.
- Amber trichomes: THC is converting to CBN. More amber means a more sedating, body-heavy effect.
Most growers harvest when trichomes are mostly milky with 10-20% amber.
Getting Started
Indoor growing is incredibly rewarding once you understand the fundamentals. Start with forgiving genetics from our indoor seed collection, dial in your environment, and let the plants teach you as you go. Every grow builds knowledge for the next one.
David Okafor
Cannabis Science Writer
My Expertise
David bridges the gap between cannabis research and practical application. With a background in pharmacology and years of science journalism experience, he translates complex cannabinoid and terpene research into insights that growers and consumers can actually use.
I specialize in 3 areas...
Share this post